There’s no better feeling than finally finishing a project. You’ve poured your creative soul into perfecting every sound, got experienced ears to mix and master your track or album, and now you’re ready to share it with the world. But how do you get your work on streaming platforms and playlists?
We’ve created a step-by-step guide to help you get your songs to more listeners (i.e., future fans) and navigate the different options available so you can make the best choice for your music and brand. Keep reading to find out how to get started!
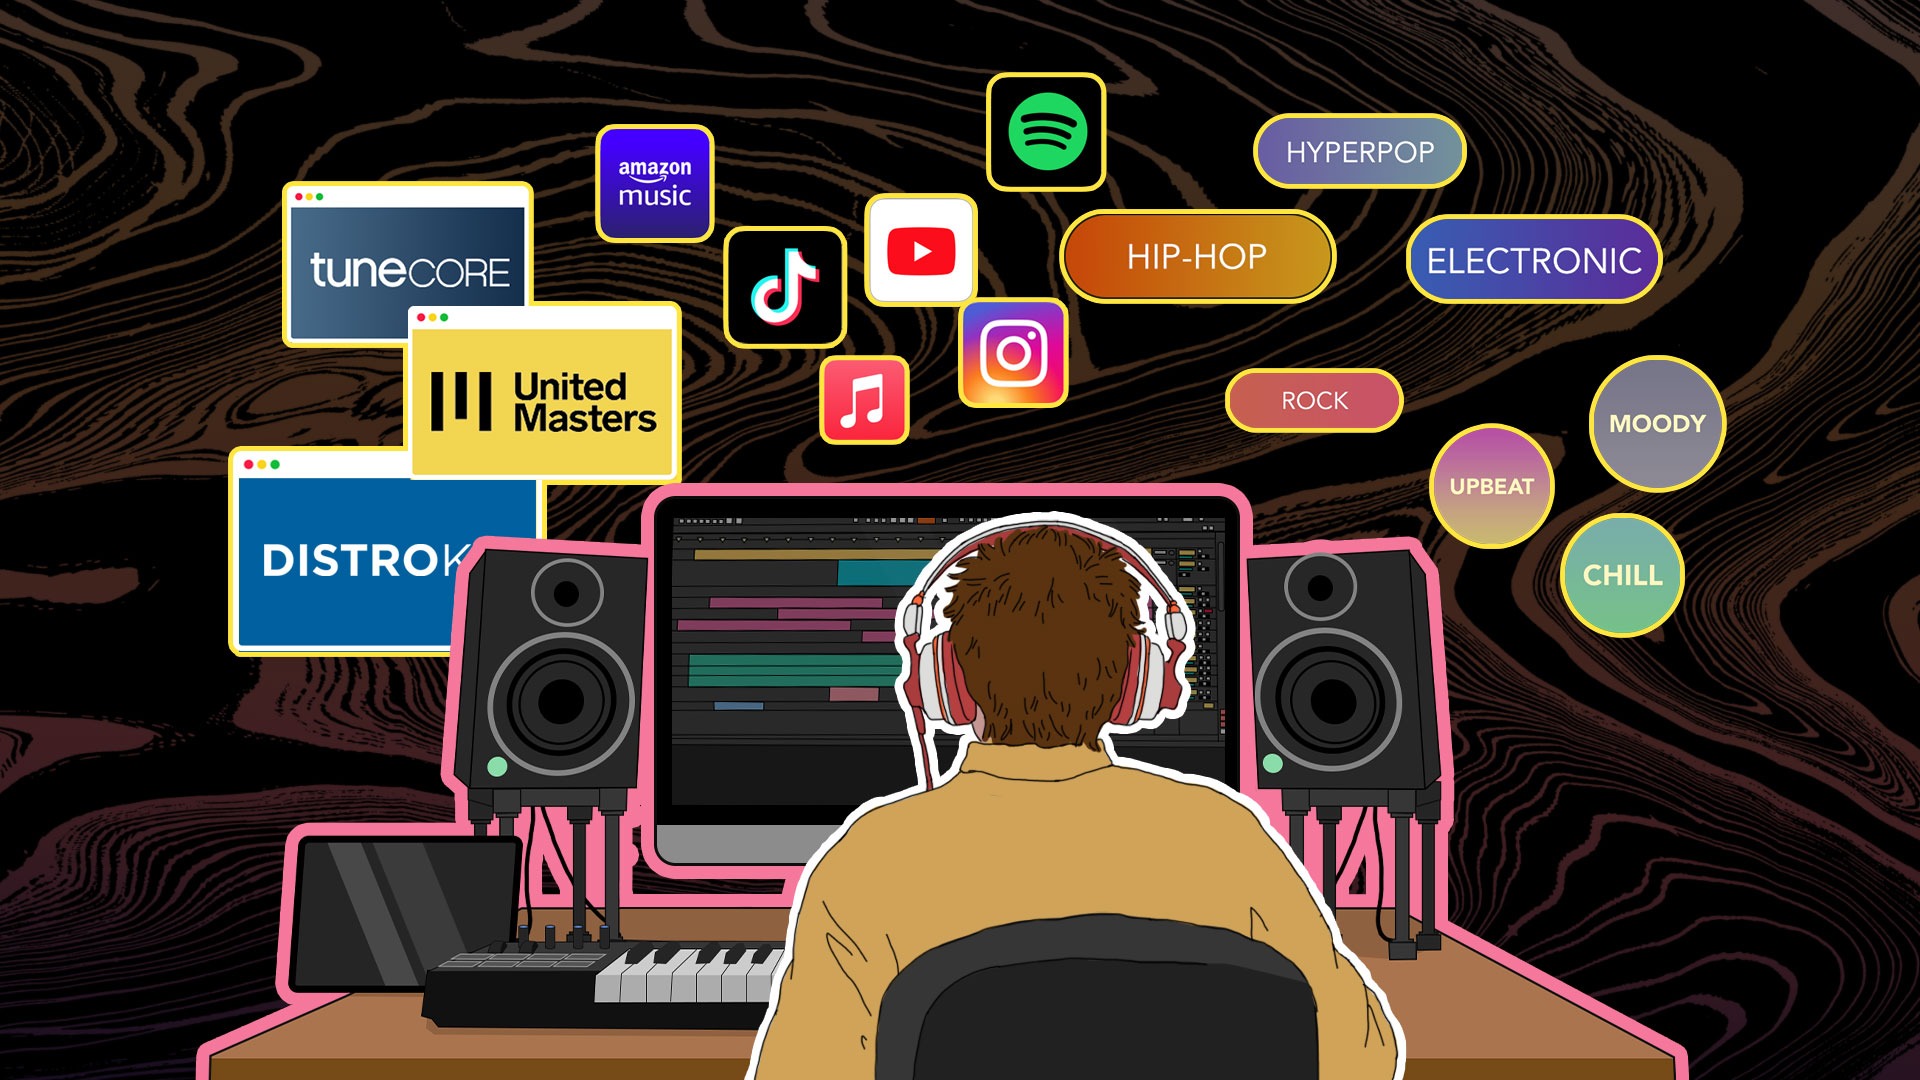
Step 1: Choose your distribution platform
So what’s a distribution platform anyway? In the simplest terms, to quote LANDR Blog, “music distribution is how music gets delivered to the listener.” The platforms serve as middlemen between the artists/producers and the various streaming platforms like Spotify, Apple Music, and Amazon Music, and also collect artist royalties.
In this article, we’ll take a look at three of today’s most popular distribution platforms – and some of their pros and cons.
The Platforms
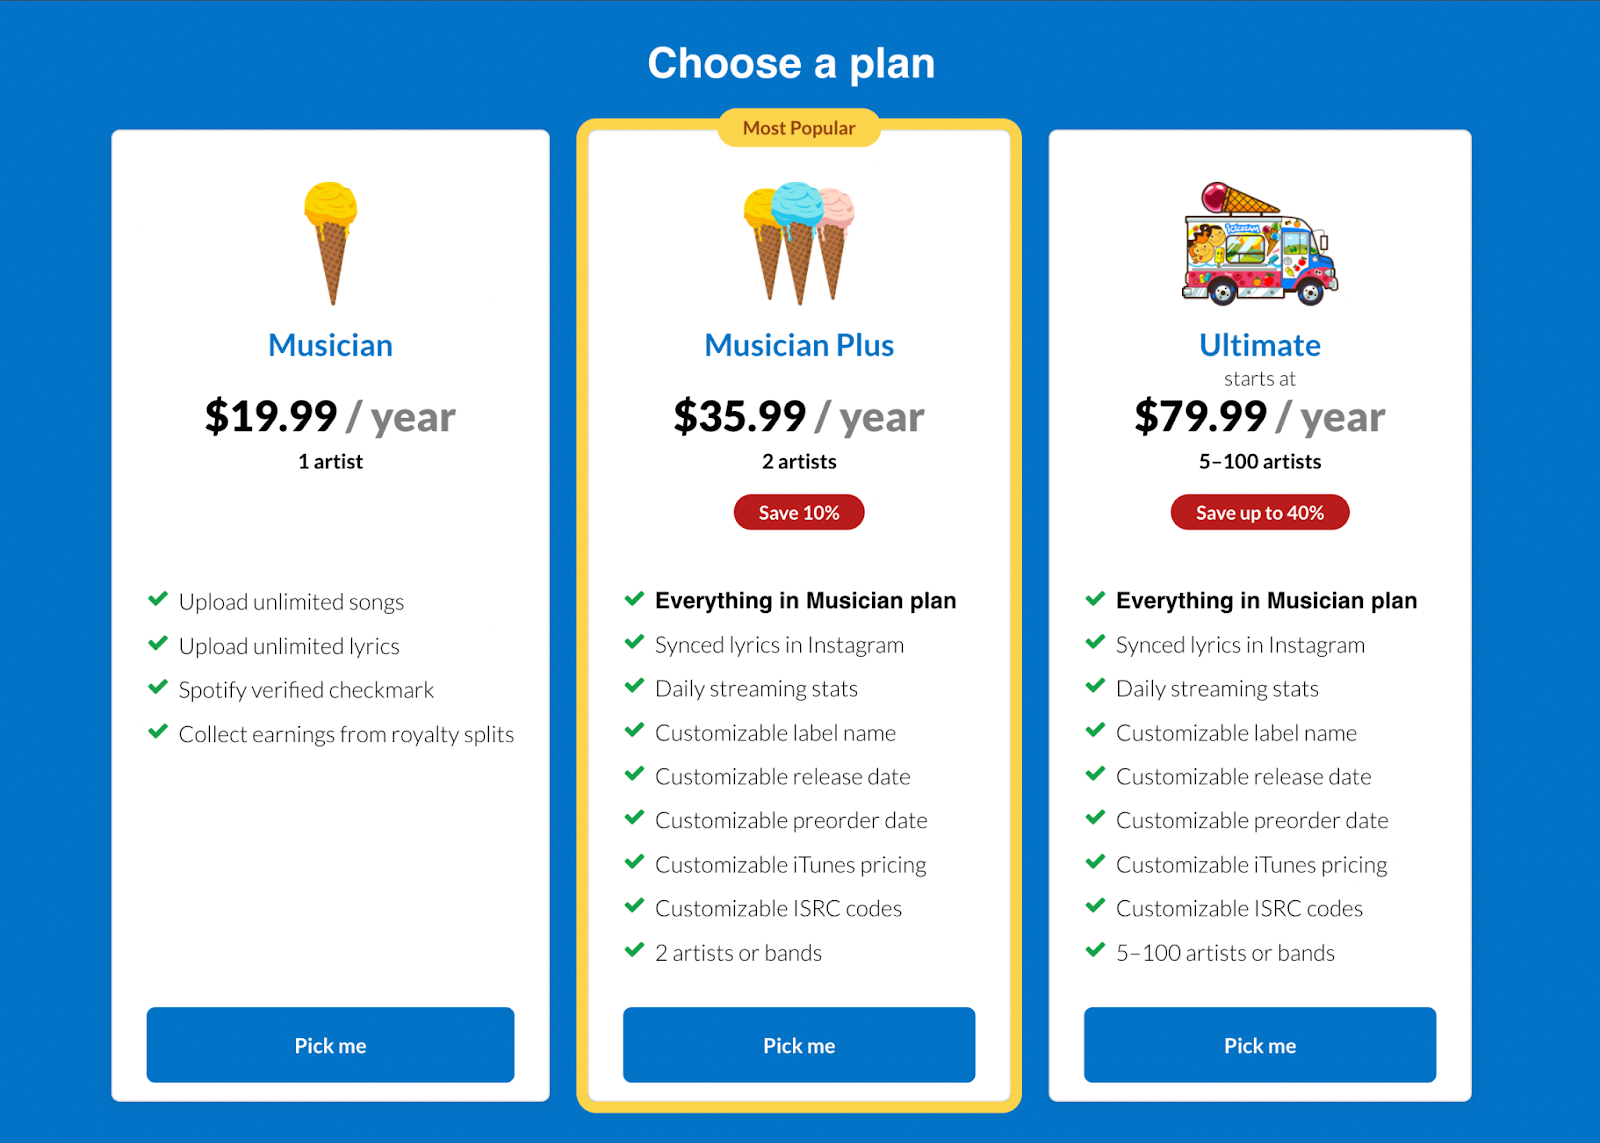
Distrokid: This is a subscription-based platform that offers 3 different plans ranging from 1 artist per plan to 100 artists per plan, and cost anywhere from $19.99 USD/year to $79.99 USD/year. Distrokid’s most basic plan still offers artists a bang for their buck, offering unlimited song and lyric uploads, a Spotify verified checkmark, 100% of your royalty earnings and the ability to split those earnings with collaborators. You can check out their different plans here.
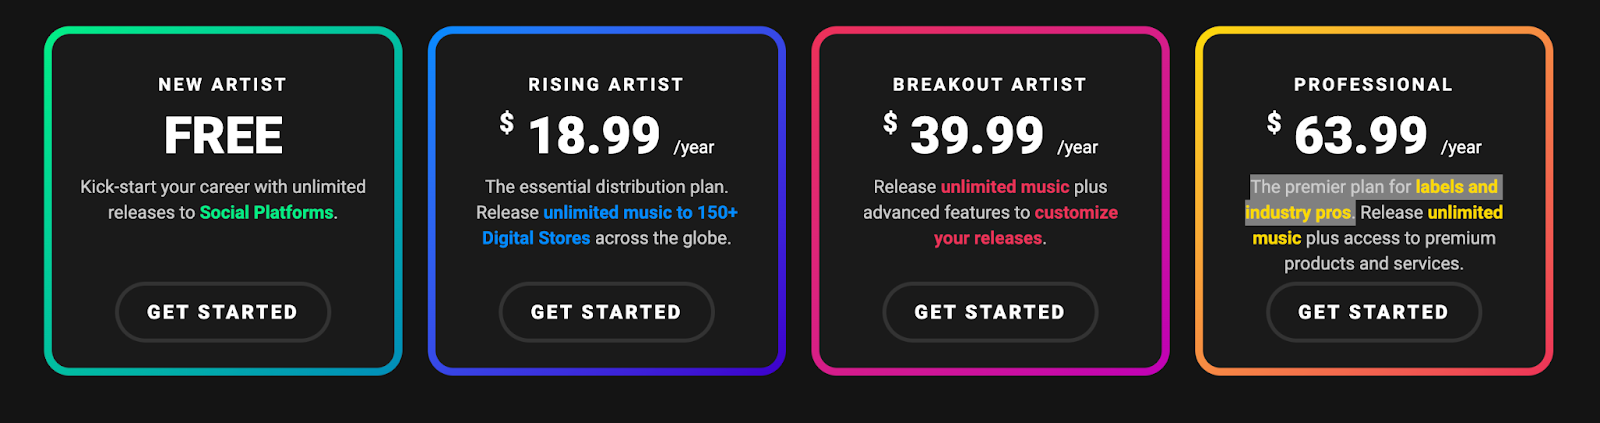
Tunecore: With the most plan options of the three distributors covered in this article, Tunecore is a subscription-based service offering different tiers based on where you are in your career – an interesting option for newer artists working with limited funds. Case in point: their free “New Artist” option, while fairly basic, is the perfect way for artists and producers to start building a fan base as it allows you to share unlimited releases on all social platforms and gives you a YouTube Official Artist channel (and we know that official recognition is a definite plus). The downside to this plan is that you aren’t able to upload your music onto any streaming platforms.
For artists and producers who are further along in their careers, you can choose plans that range from “Rising Artist”, which allows you to release unlimited music to 150+ Digital Service Providers (DSPs) across the globe, to “Professional”, which services labels and industry pros. Check out all the plan details here.
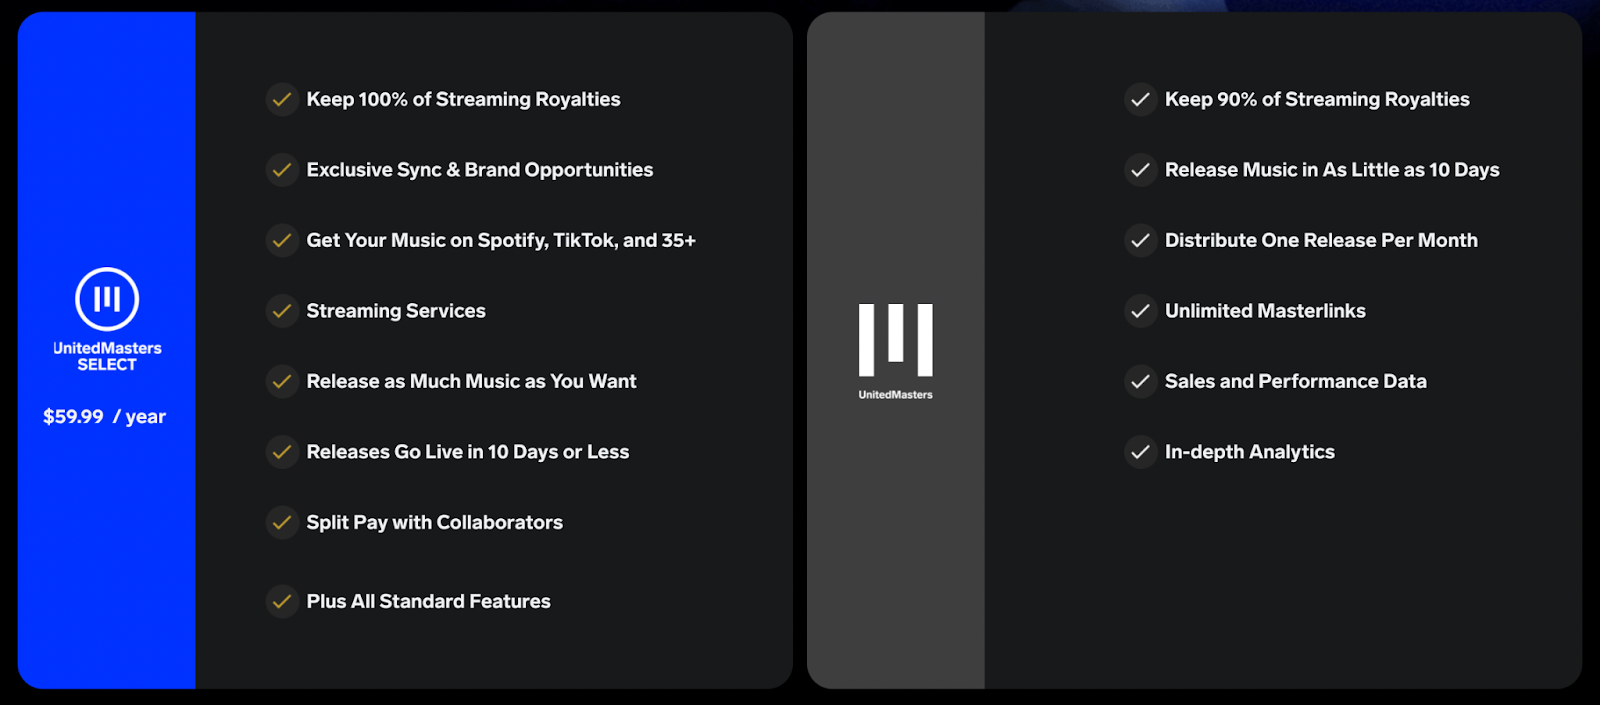
UnitedMasters: The great thing about this distribution platform is that it offers different plans for artists, producers, and brands.
For artists, UnitedMasters offers two plans: UnitedMasters SELECT, which allows you to keep 100% of the royalties from your songs, but requires you to pay $59.99 USD/year, or the free UnitedMasters plan, which allows you to keep 90% of your profits. Find more information about both here.
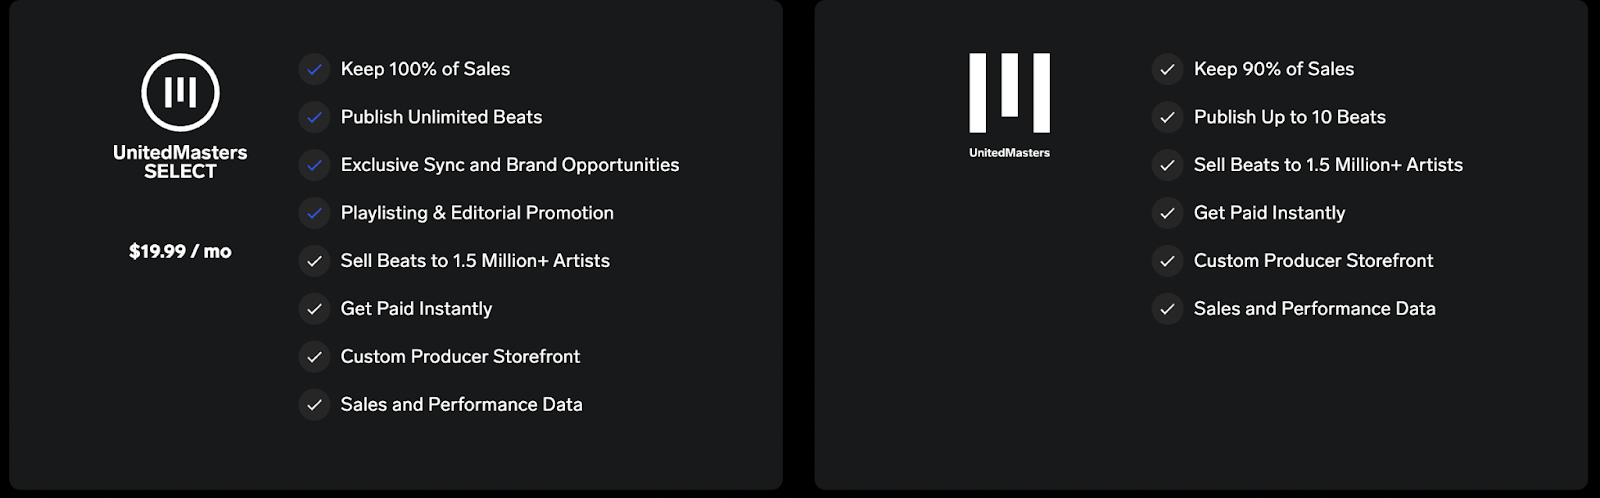
United Masters offers similar plans for producers, however the paid option, which allows you to keep 100% of your royalties, costs$19.99 USD/year rather than the $60 artists’ plan. You can also select to have the free version with a 90% royalty split. Get the details here.
Step 2: Create your account
This one is pretty standard and self-explanatory; create an account so you can use your chosen platform’s service! All three platforms covered in this post ask for similar information.
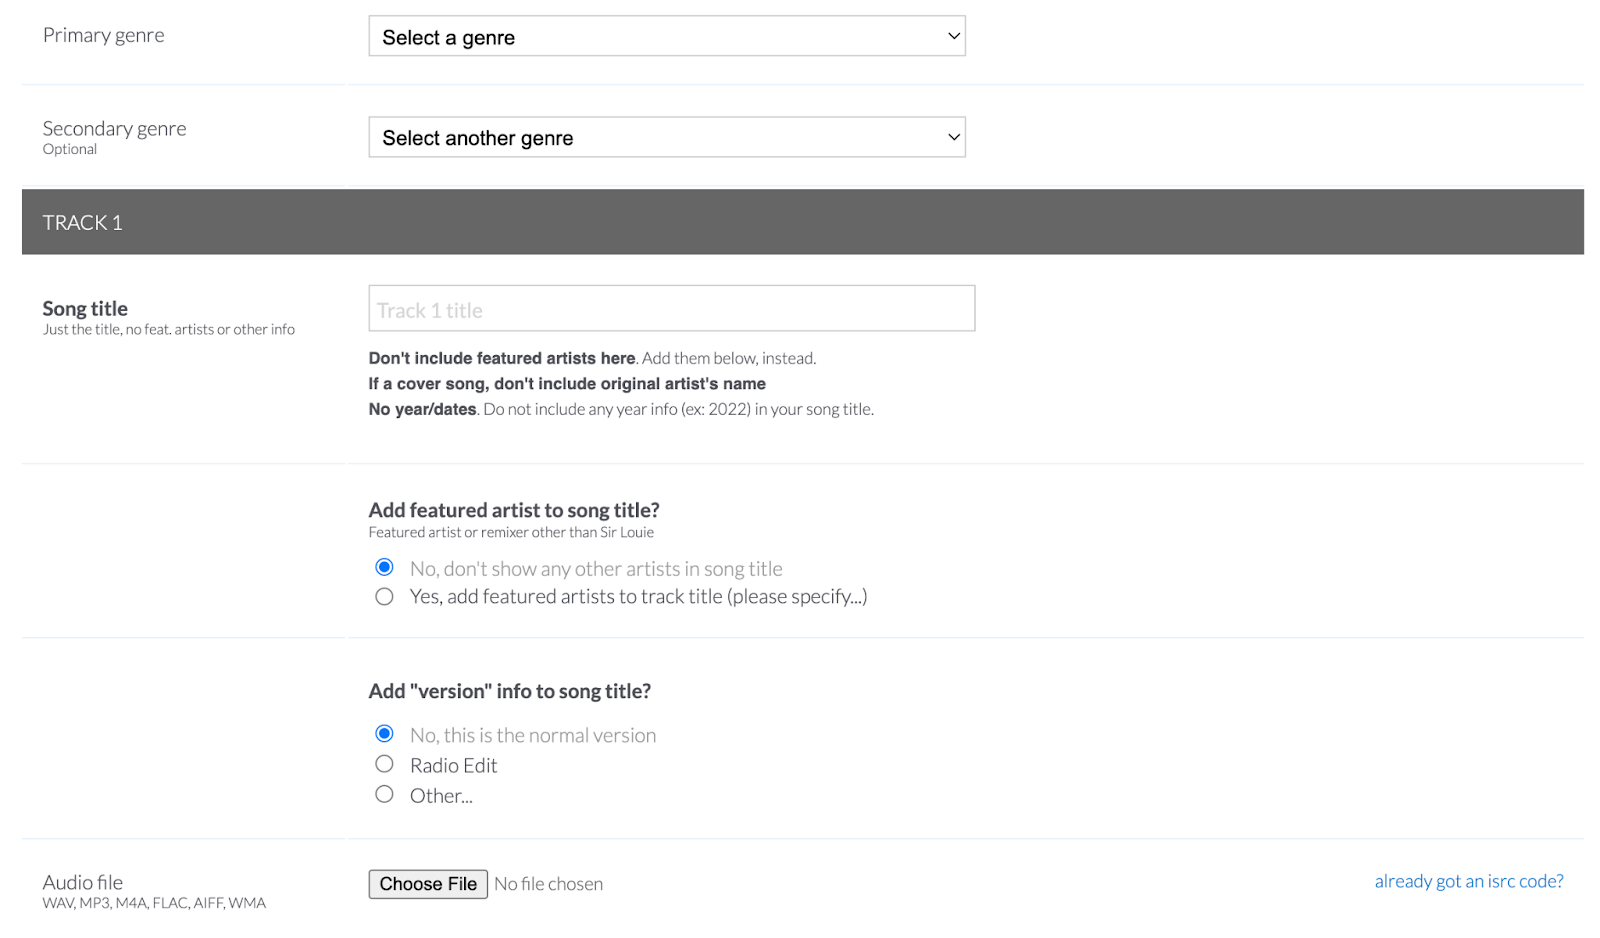
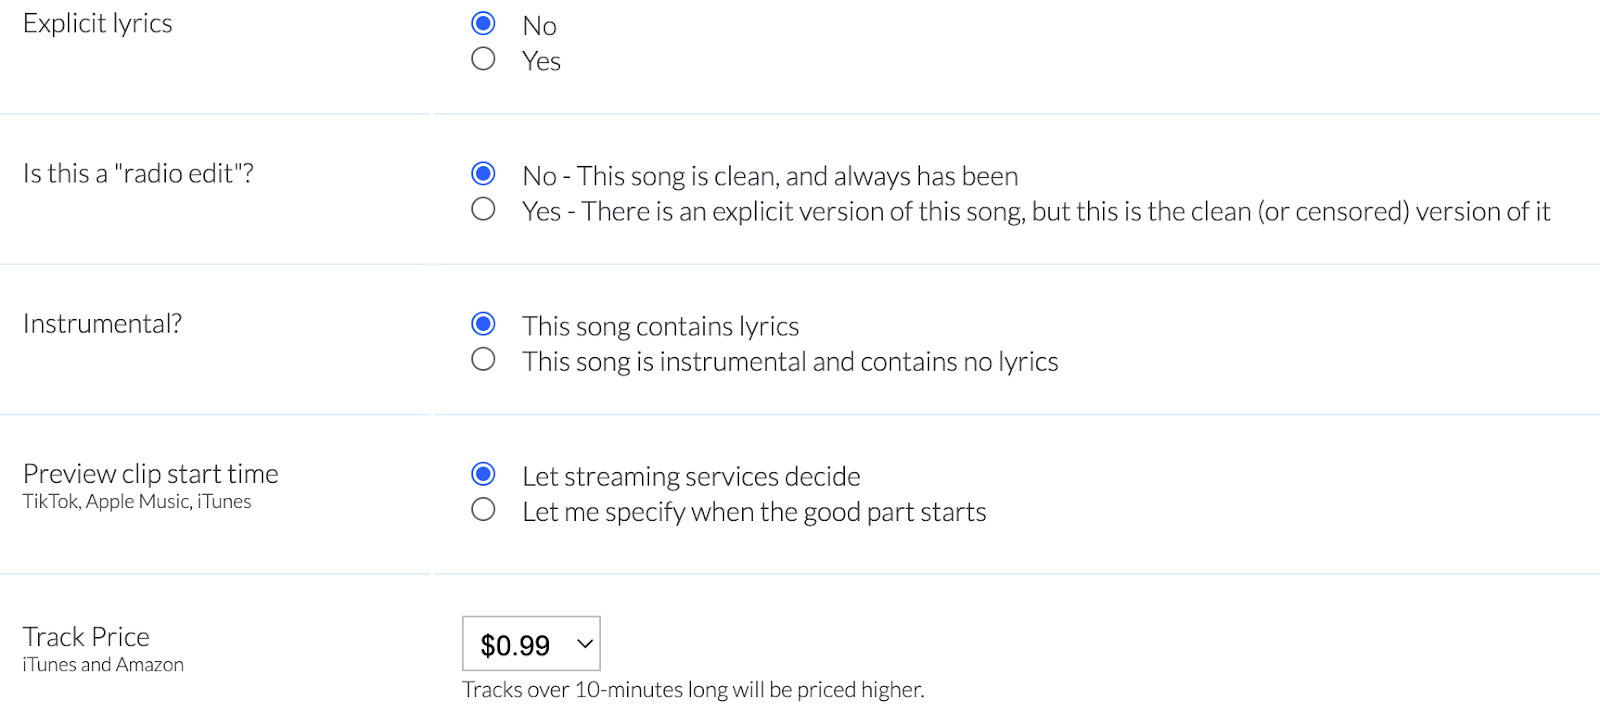
Step 3: Who Are You? Establishing an Identity
While the descriptors for each site may differ slightly, all require you to cover the basics whether you’re putting out a single or an entire album. So what kind of information do they require?
- Song or album title
- Name(s) of main artist(s) featured
- Are there explicit lyrics?
- What language is your work in?
- What is your project’s primary genre? Secondary genre?*
- What is the release date and time?
- Which platforms do you want your music to appear on? (e.g.: Apple Music, Amazon Music, Spotify, etc.)
*Important to note: it may be tempting to include all the genres that your music touches on, but beware of the algorithm! If too many listeners skip your tracks because they’re not hitting the genre they’re looking for, that tells the algorithm your music may not be resonating with the streaming service’s users, and in turn can lead to your songs not getting promoted as frequently.
*Note: Some distribution platforms offer users the option to pay an extra fee to ensure your songs remain on the streaming platform indefinitely, or things like “store maximizers”, which guarantee that your tracks will appear on new platforms as they emerge.
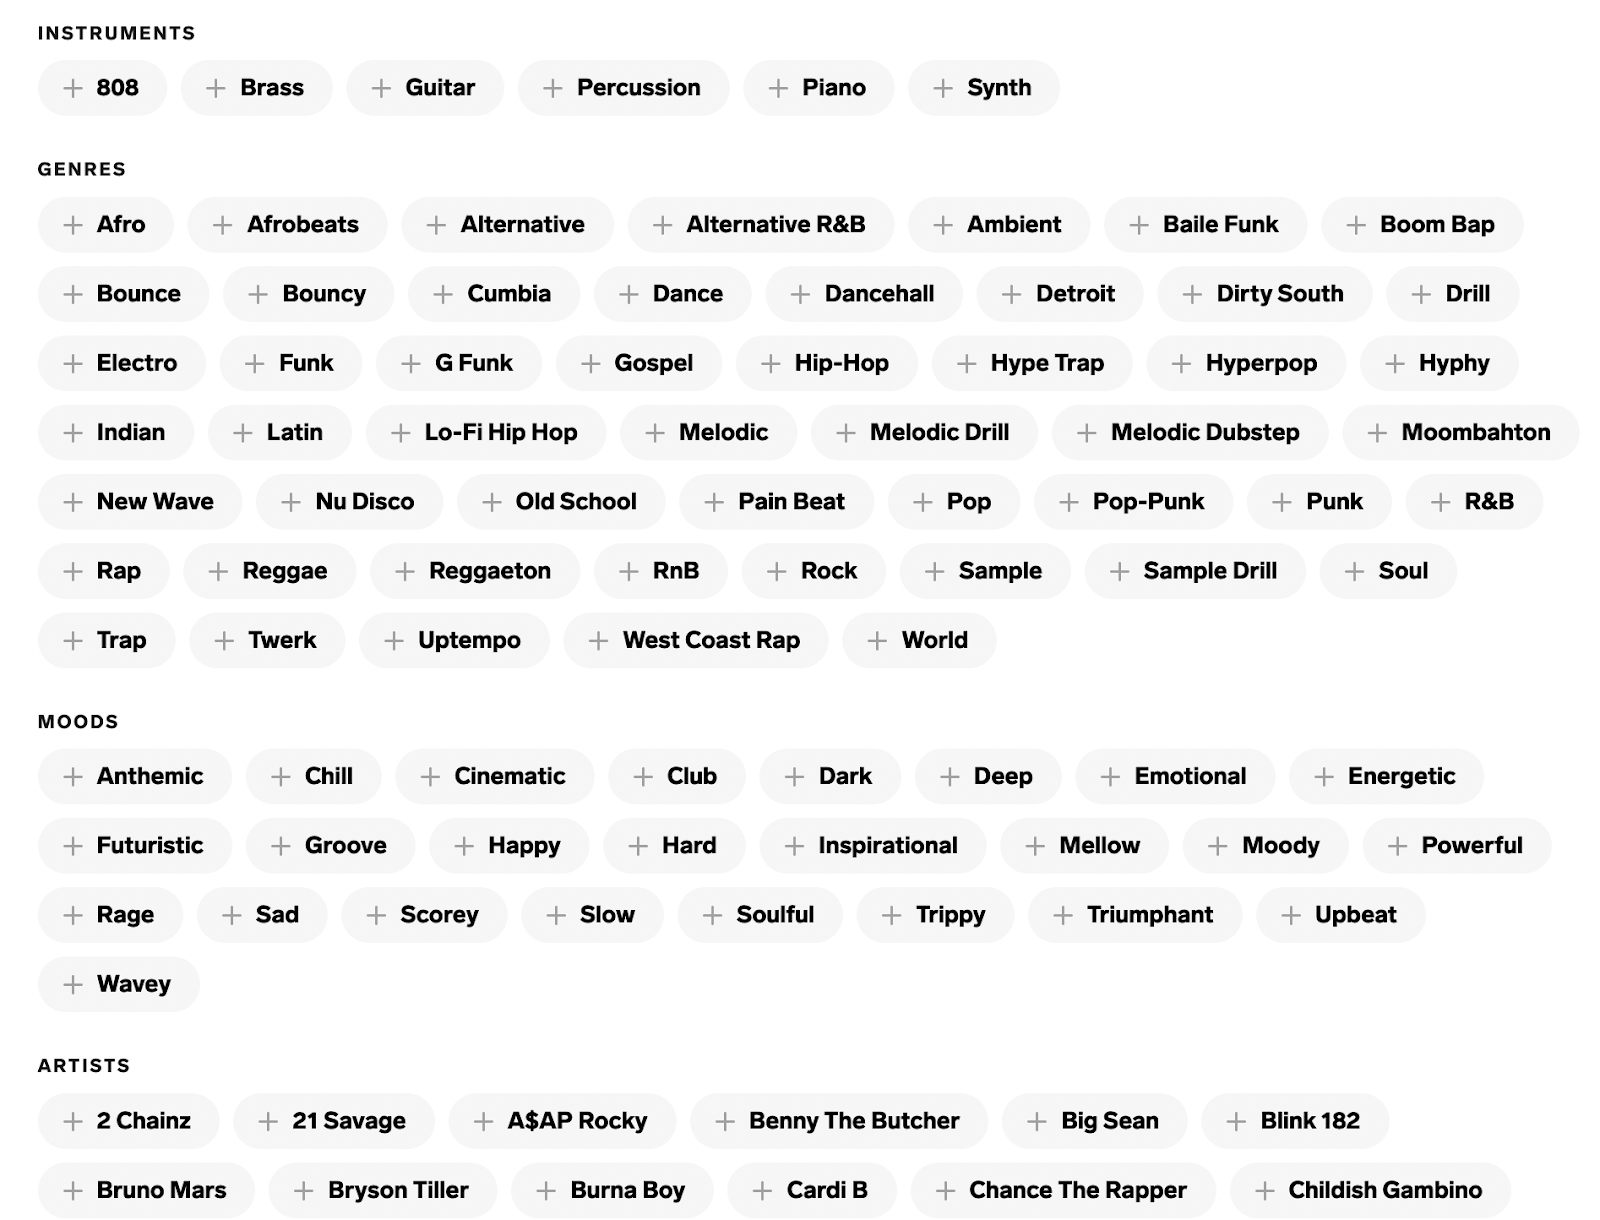
If you’re still unsure under which genre to classify your sound, check out the section that covers EveryNoise in our second Online Tools post.
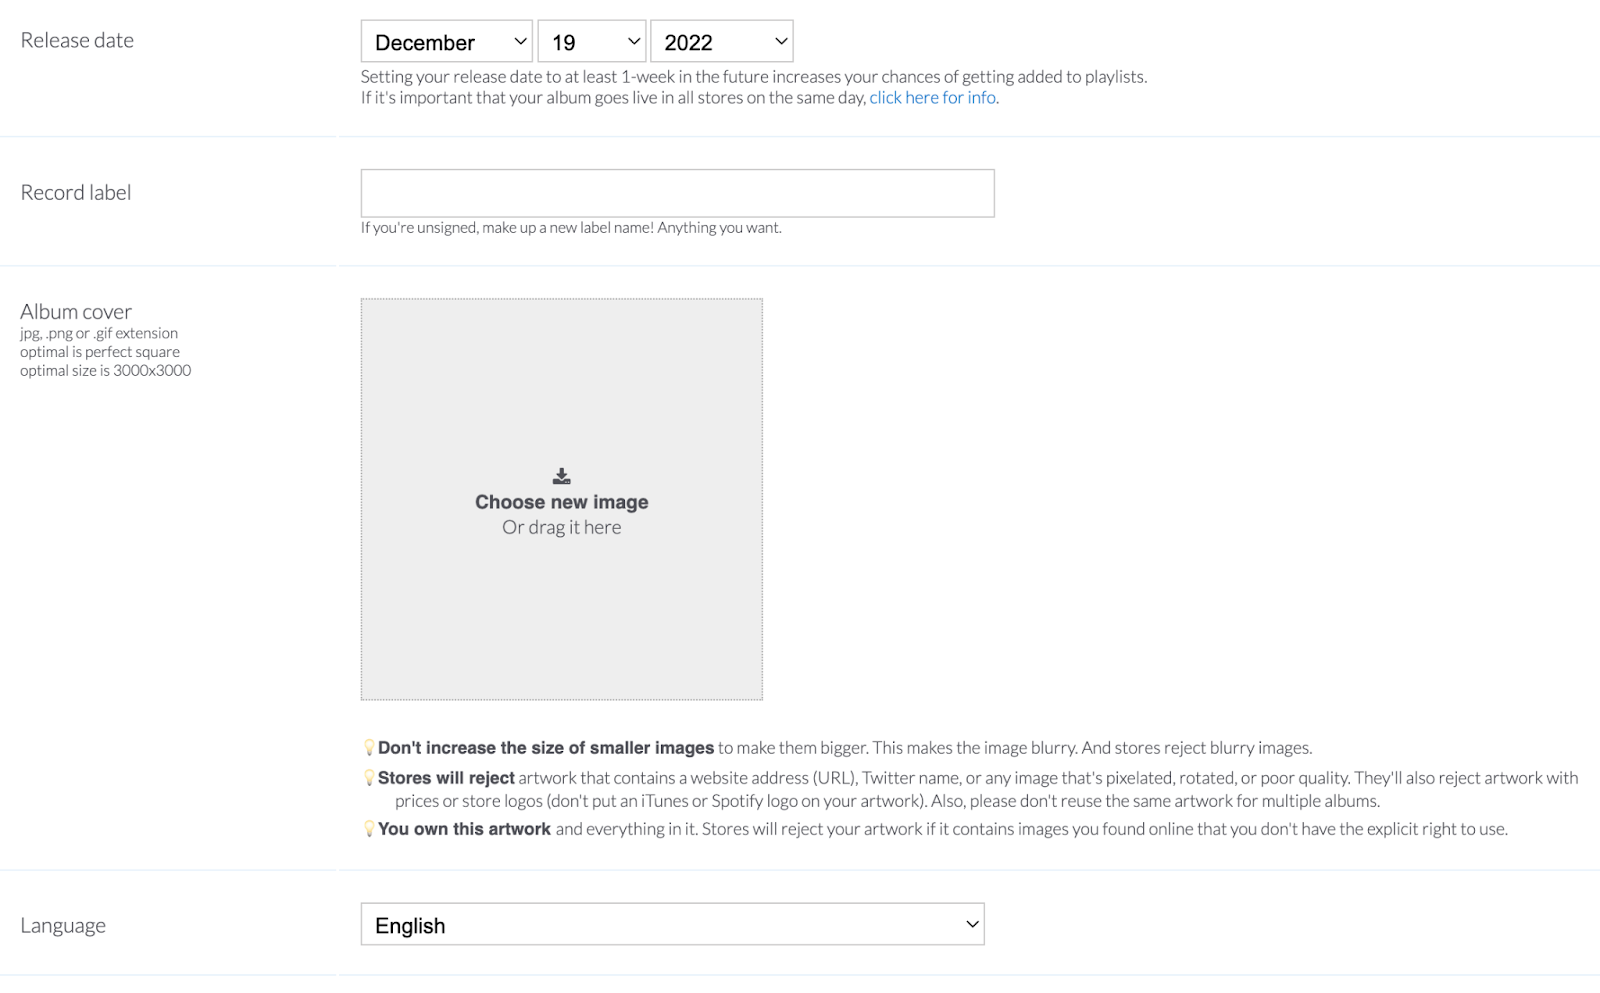
Step 4: Add Cover Art
As you can see from the examples we’ve shared, where you’ll be prompted to add your project’s cover art might vary between each platform, but you’ll definitely need some visuals to go with your track(s)/album.
If you’re an artist or producer working on a tighter budget, you can still get great art to compliment your work.
- Check out social media like Instagram and TikTok to find local artists open to taking on new projects;
- Head over to CEGEPs, universities, or colleges to see if any students want to expand their portfolio by collaborating with you (adding a monetary incentive doesn’t hurt either!);
- Alternatively, you can make your own art on sites like Canva, which provide plenty of templates that you can use as your jumping off point for visuals.
Step 5: Format Your Tracks
Having poured your heart and soul into your projects, you’ll undoubtedly want them to sound the best they possibly can! Although most platforms will allow you to upload MP3 versions, WAV formats offer higher audio quality.
For a more in-depth look into the difference between MP3 and WAV files, check out the video below (focused on podcasting, but does a great job explaining the pros and cons for both!):
Step 6: Submit Your Song for Distribution!
Now that you’ve defined your sound and established your look as a creator, it’s time to share your music with the world!
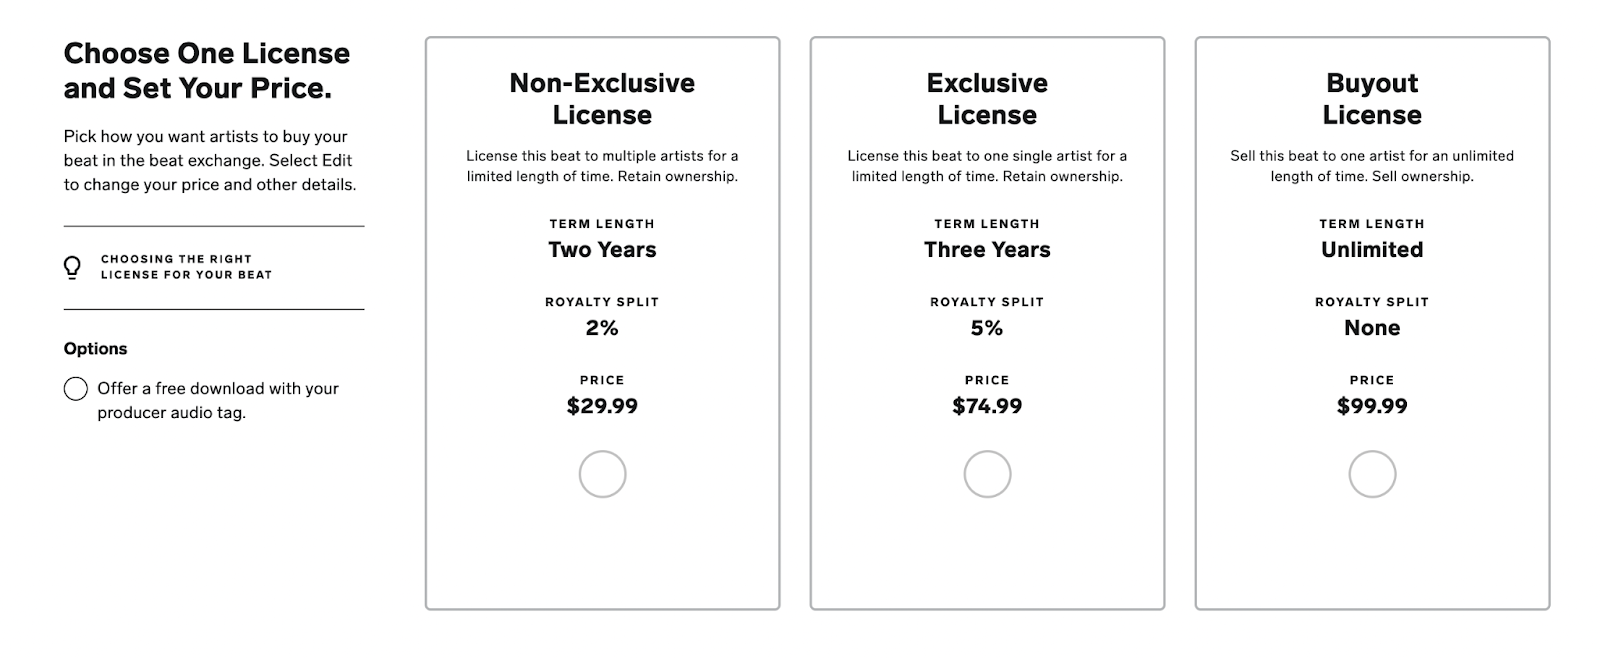
You’ll still have to make some important business decisions in this last part, namely how you want to license your music. Once again, you’ll have different options to choose from, but it’s important to think both in the long and short term of how you envision your career taking shape.
It’ll also be at this stage that any samples used in your track will need to be cleared.
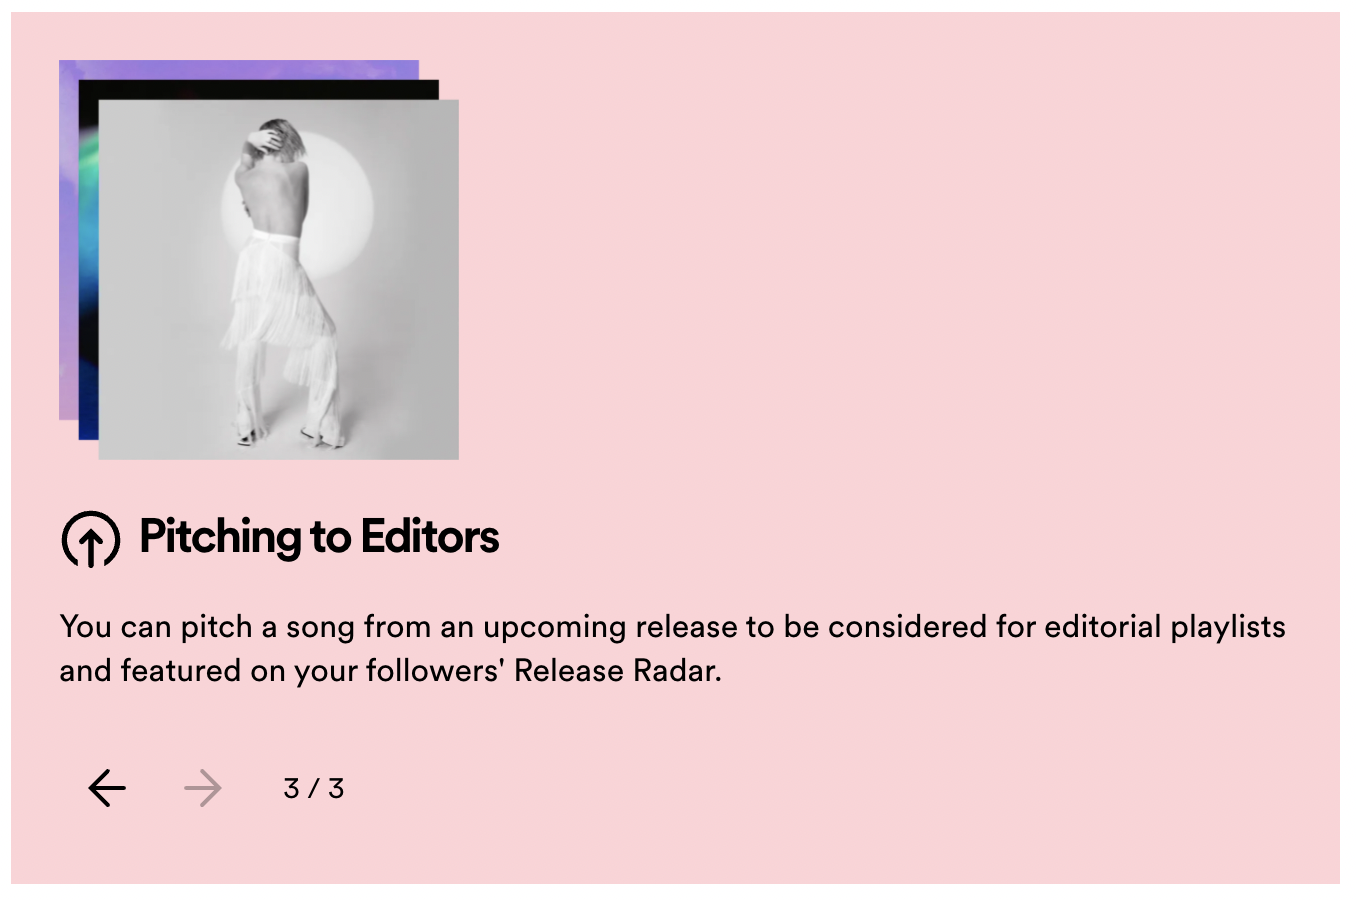
Step 7: Get Your Song on Playlists
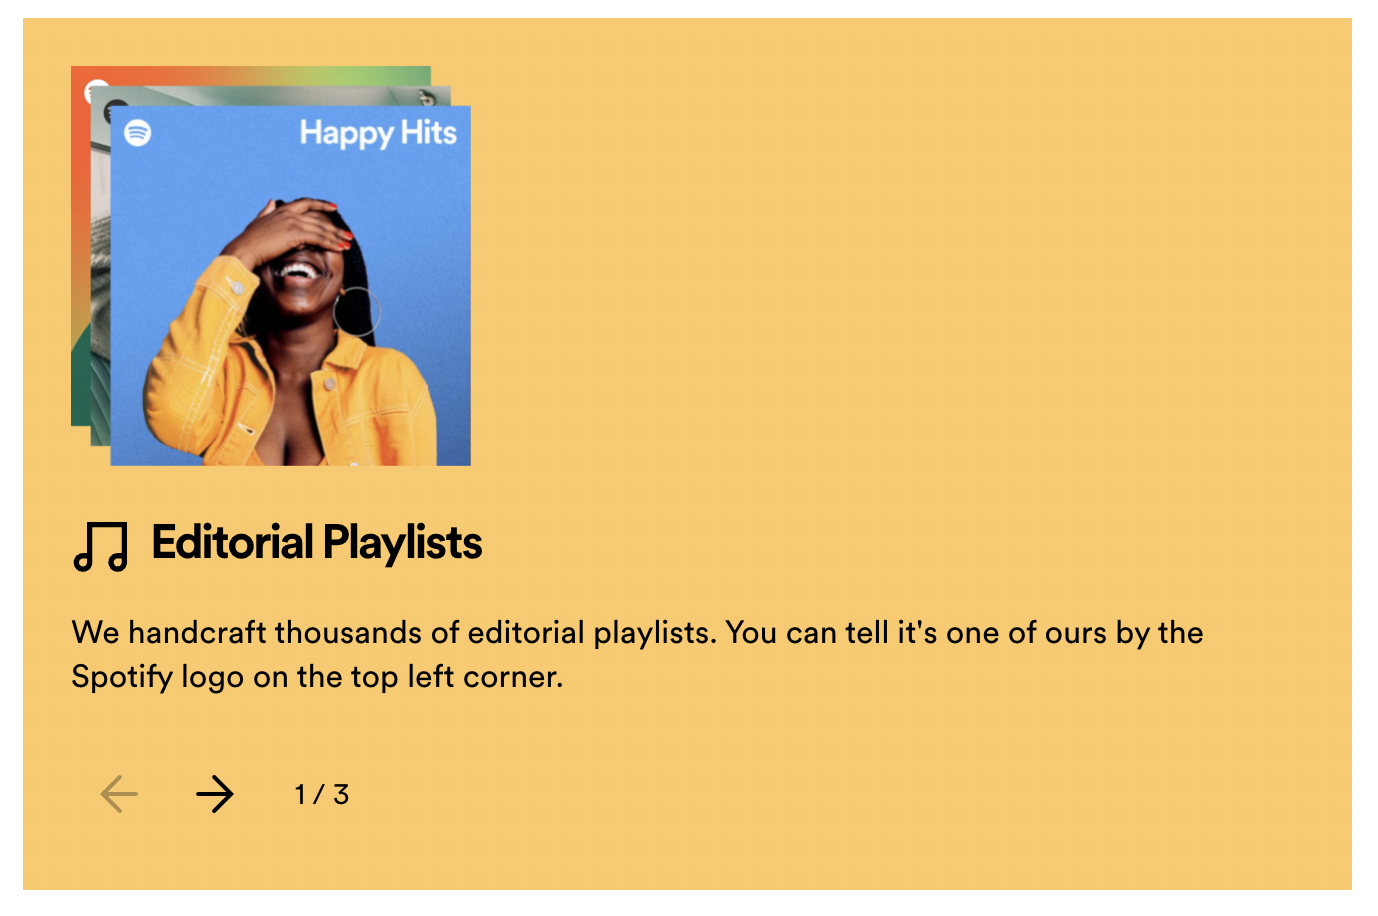
If you don’t have a Spotify for Artists account, you should definitely make one! Spotify has options to submit your projects to different playlists, ensuring that your audience reach is that much broader.
You can get a full breakdown of all the additional tools Spotify offers here.
Step 8: Register With the Right Organizations
We all make art for different reasons, but ideally you’d like to make a profit from it, right? To ensure that you receive all the royalties and fees owed to you, you’ll have to register your work with SOCAN, Re:Sound, SOPROQ (for Quebec-based creators), and CONNECT (for Ontario-based creators).
It can get confusing keeping track of where you need to register and why, but we’ve got you covered! Check out our post on Successfully Preparing Your Music for Release for a full breakdown on what each organization does and whether registering with them is the right option for you.
Step 9: Create Hype!
Consider how much work you’ve put into your project so far – now you need a release strategy to get it heard! Creating buzz before release day and consistently promoting it on your socials is the best way to get word out about your work.
That cover art you created? Use that as a cover for an Instagram reel and share a sample of your track. Want to drop some lyrics to get listeners more invested? Make an easy lyrics video and share it on TikTok.
It’s imperative that you put as much energy into promoting your work as you do shaping it. Yes, these distribution platforms will help you with any tools you may need to achieve your marketing goals (Distrokid, for example, offers resources under their “Goodies” tab in the drop down menu), but it’s up to you as the artist and/or producer to create a solid fan base and community with which to share your work.
Step 10: Be Proud & Promote Your Work
We think Tyler, the Creator explains this best:
–Final Notes–
Hopefully you now have a better idea of which distribution platform will serve your needs best. Remember, this is a general overview meant to help our readers familiarize themselves with some of the top platforms available today, but we strongly recommend taking some time to do your own research to figure out which will offer the best return on investment (both time and money!).
If you enjoyed this article or found it helpful, be sure to head over to our “Community” tab to find more articles to get tips on how to move your career forward and share your creativity with others. Good luck and happy streaming!
Written by Ania Szneps and Tyrus Facey
Illustration by Yihong Guo