
Earlier this year, RAC chatted with Montreal-based musician, producer and sound designer Solomon Krause-Imlach to discuss How to Build a Home Studio Anywhere: Maximizing Small Spaces. On top of making music for his own project and composing for other artists, the multi-talented multi-hyphenate works as a sound engineer out of the home studio he built from scratch, recording and editing audio for major podcasts, ads, and film.
In our first interview with Solomon, he touched on making the most out of a small space, getting creative with DIY studio building techniques, and widening the range of projects your skills can be applied to.
You loved that piece so much that we decided to take questions from RAC grads to expand on hands-on tips and tricks for working in an efficient homemade multi-purpose space. Read on for practical lessons for up-and-coming sound engineers and producers, courtesy of an industry professional with over 10 years of experience under his belt.
RAC: Welcome back Solomon! In part 1, you discussed building a home studio in a small 10’x10’ room.
One way to maximize the space you mentioned was transforming a shallow closet into a fold-out vocal recording booth.
Can you describe that construction process and the material you used?
Solomon: Thanks for having me! The first thing that I did was scour Facebook Marketplace and Kijiji for either free or low-cost doors. The next thing was grabbing some hardware like door hinges from stores like RONA and Canadian Tire, and then I ordered door stoppers online to help keep things in place.
The main part of the construction is basically hinging the extra doors to the side of the closet and to the existing door, so that you can create an enclosed rectangular space that folds out. The cool thing is that it can fold back flat to save space when you’re not using it.
The closet was only a foot deep so you basically couldn’t stand in it – in other situations you might be able to use a deeper closet as a sound booth, but mine was way too small so I got creative. I had to work with what I had to maximize the space. There are lots of great tutorials online on how to build affordable acoustic panels, and there’s always some kind of little corner you can turn into something useful.
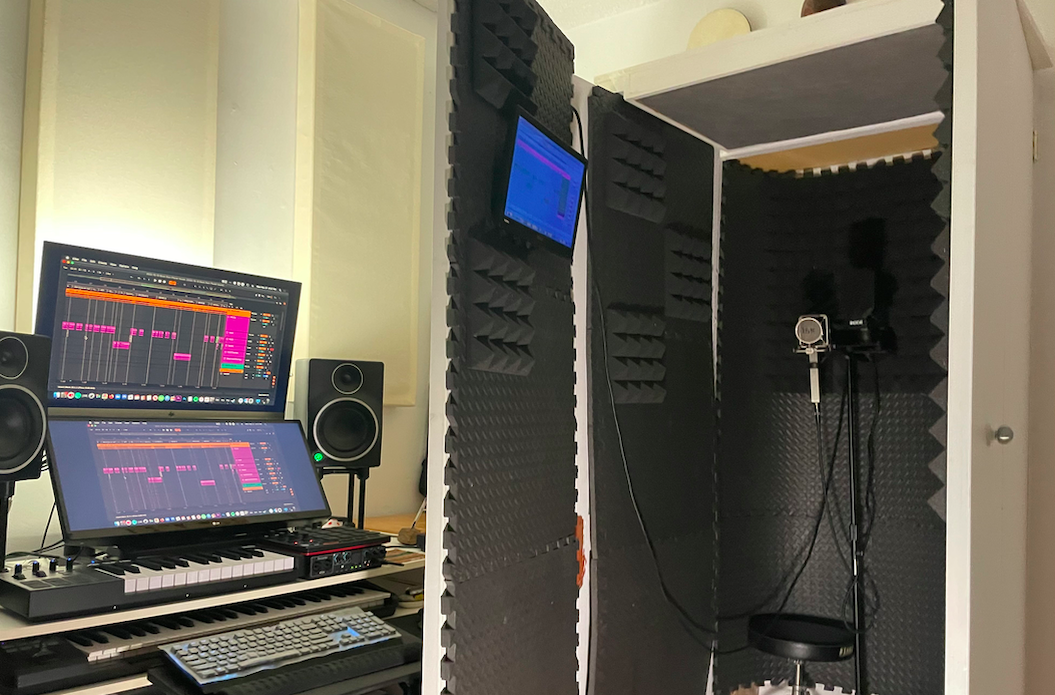
RAC: What kind of material and equipment can we find inside your custom fold-out booth?
Solomon: Inside the booth, there are gym mats that I also found on Facebook Marketplace to use for sound absorption and lessening reflections, since they have a rough pattern surface and they’re pretty soft and foamy. There are also acoustic foam panels in there for the same purpose.
The roof was probably the most work-intensive piece to build, because I custom-designed a sound panel with Rockwool Safe’n’Sound to fit the top opening. Depending on the size of your booth you could even put sound panels on each of the doors. The roof blocks a bit of sound coming in from the top, and most importantly, it blocks reflections bouncing off the ceiling.
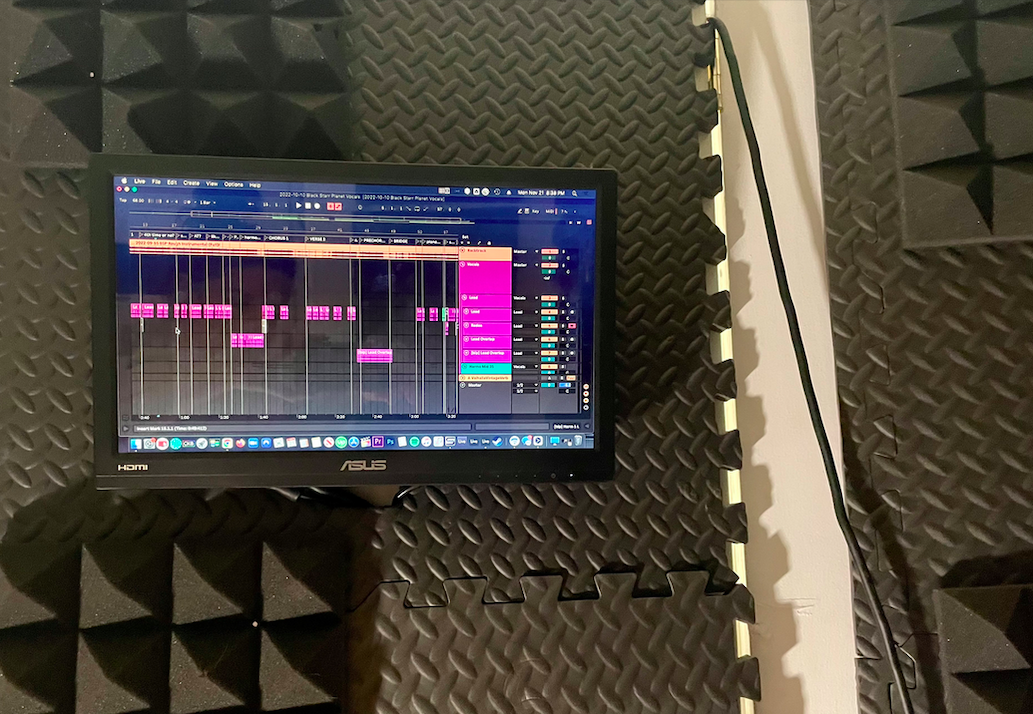
Then of course you would set up your microphone inside, again with some absorption material around, such as a microphone isolation shield. I also mounted a touch screen inside the booth, so that if you’re recording yourself, you can work from inside without having to run back and forth between your computer set-up. This facilitates self-recording of the best quality in your home studio. It doesn’t need to be a touch screen, you could have a mouse in there. I just found a deal online for touch screens, got some HDMI and USB chords and plugged it in.
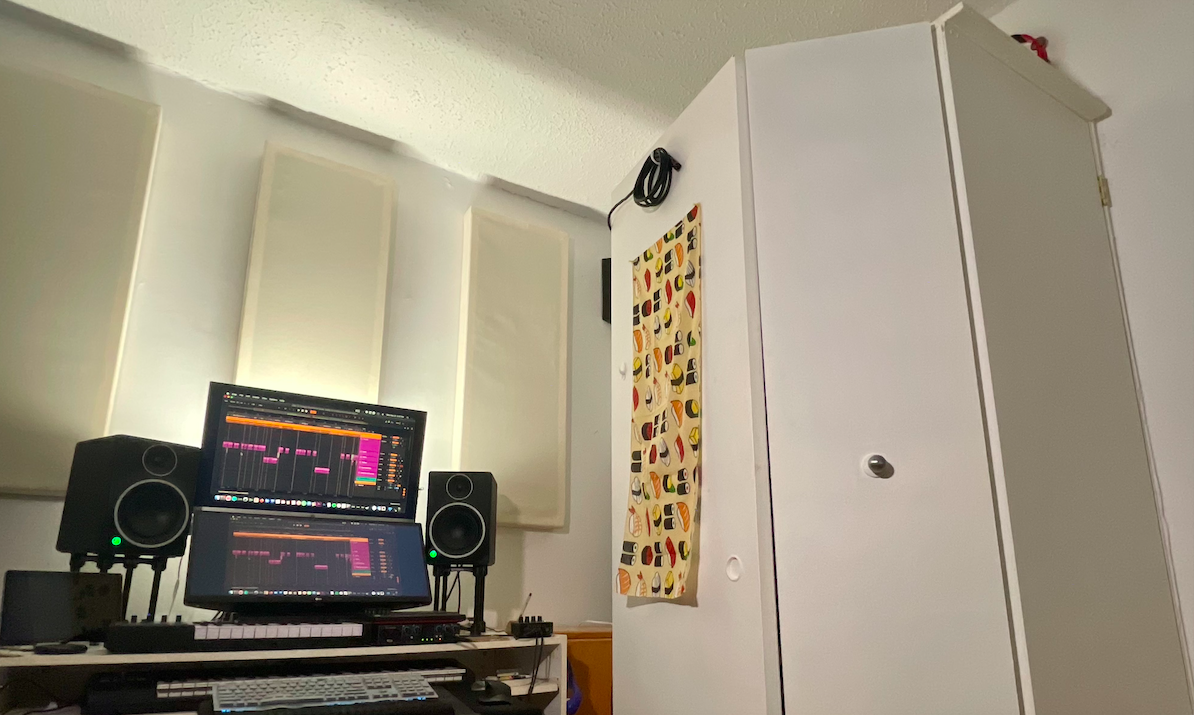
RAC: Speaking of DIY material, one of the questions submitted by RAC grads was: how much do real acoustic panels cost VS how much does it cost to make them yourself for your studio?
Solomon: I found the panels that are up on the walls of my studio on Facebook Marketplace. Buying “real” panels from a company is quite expensive, but there are a lot of people who make them in Montreal if you look it up online. Some builders make a side business out of it and sell 4’x2’ panels for as low as $60 to $100, which is pretty reasonable.
You can DIY them for cheaper, but know that it takes time and energy to gather the necessary supplies and tools, find a space you can work out of, and look up tutorials. Buying the Rockwool Safe’n’Sound is not super cheap, so if you don’t already have access to the proper space and tools (e.g. circular saw, power tools), it’s worth looking up a local builder selling panels on Kiiji or Facebook Marketplace. Sometimes people are moving and getting rid of panels, or you might have a friend who can help you out.
RAC: You’ve also built a podcast studio out of the Diving Bell Social club venue in Montreal!
How was that different from building your home studio, which is usually used more for music recording?
Solomon: It was a similar concept – reducing reflections as much as possible, to create a dead/dry space – but it’s more work! In a vocal recording booth, you’re containing things to that little singular-person pod, so the most important part is what happens inside, whereas for the podcast studio, there’s no isolation, so you have to treat the whole room. We had to build 8 sound panels, for every wall and the ceiling, and put in isolation foam.
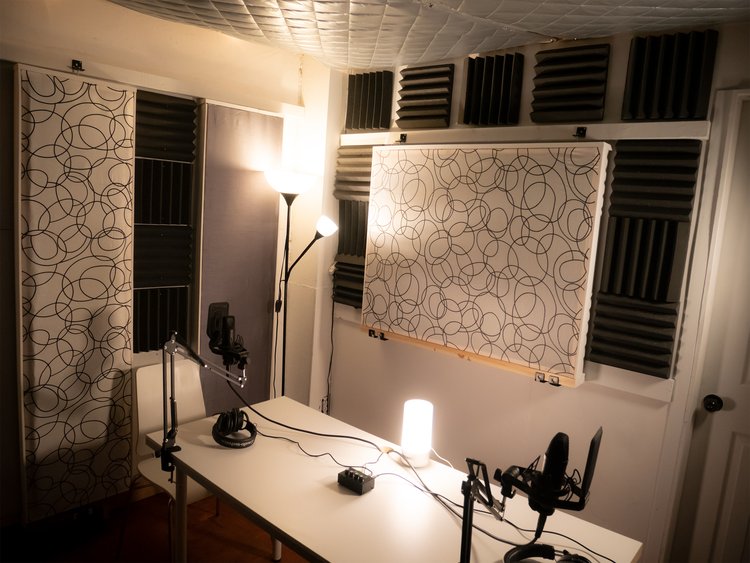
It’s harder to build a podcast studio with an open recording setting. In the green room of the Diving Bell, venue co-founder Austin and I built all the panels using Rockwool Safe’n’Sound and store-bought lumber. Instead of using fancy fabric, we used curtains, again found on Facebook Marketplace. It was built in spurts over several months – not every day, but a lot went into it.
Check out Solomon Krause-Imlach’s website here
RAC: Best low-cost and low-effort ways to DIY panels/diffusers?
Solomon: If you want to build DIY panels, you can really go the low cost route! In terms of lumber, you could look up old building sites – people sometimes list free wood, which can work well if you don’t care about it being perfect or pretty. Second-hand curtains can be used for the panel fabric, and then instead of Rockwool Safe’n’Sound insulation, you can use old towels. There’s an incredible engineer on YouTube who tests different forms of filling. He uses old ratty towels for example, and it works amazingly well.
Rockwool Safe’n’Sound is designed specifically for acoustic use in studios. It’s kind of the standard for the purpose of sound absorption. Towels are an effective replacement for filler, or just normal wall insulation does a decent job. You can often find offcuts from construction sites or from people who are doing renovations.
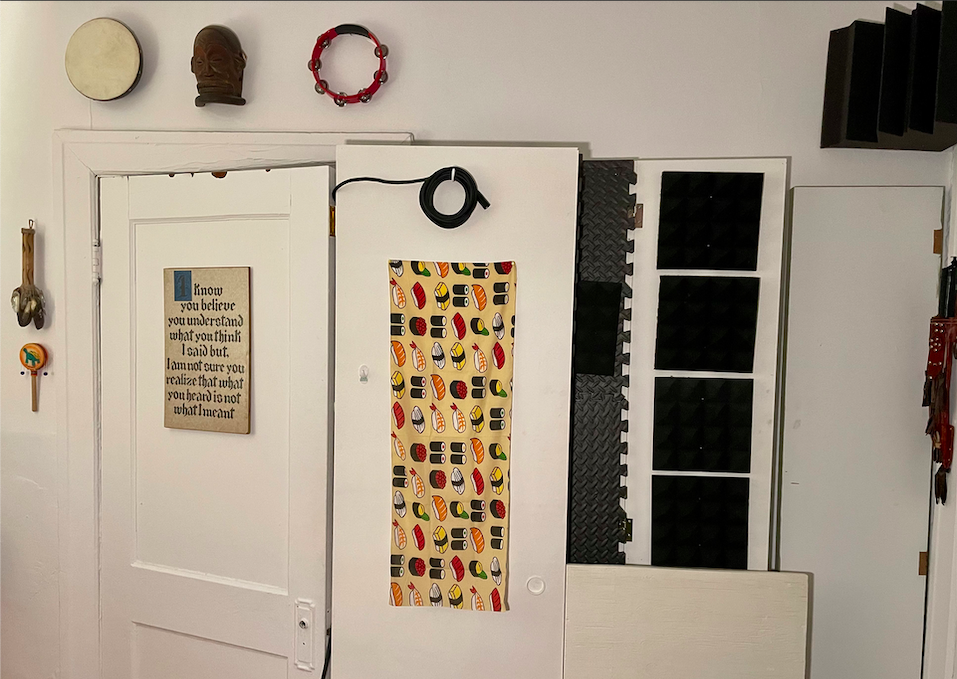
In my opinion, acoustic diffusers are too expensive to warrant for a home studio unless you have a bigger budget. My diffusers are just decorations hung up on the wall that pop out, like paintings, sculptures, masks… Anything that breaks up reflections and creates different distances offset from the wall will help create some natural diffusion and better acoustics.
Sound absorption panels and bass traps should come first. Some experts in studio acoustics say that if you can afford one thing, get bass traps. You can just use some kind of semi-dense foam, but it’s important to get something. Bass frequencies build up in corners of rooms, and if you have regular sound panels that absorb higher frequencies, but no bass traps, you can build up too much bass in the room.
RAC: What are some common things that can ruin your room’s acoustics?
Solomon: Obviously hard surfaces like flat walls can ruin your room’s acoustics, but mirrors and windows even more so, because glass is a very hard, flat surface, so you want to cover those up. You don’t need to be looking at yourself in the studio! If there’s a window, make sure you put up a curtain or a blanket.
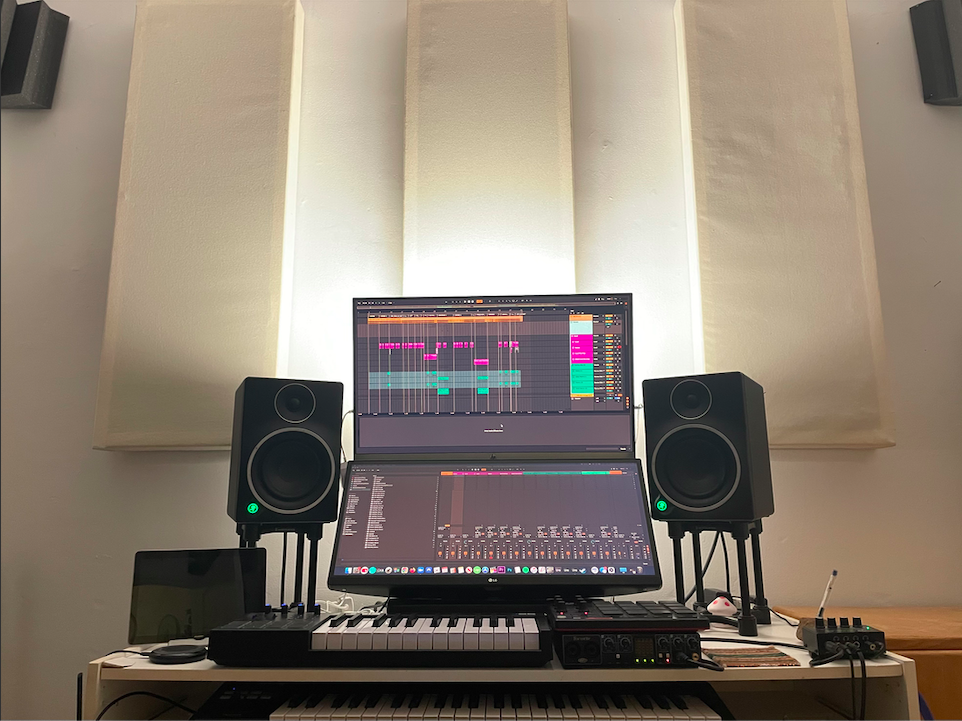
Having speakers too close to the wall is not great – they should be set out from the wall. If you can, you want them to be a foot out from the wall, at least. The speakers shouldn’t be over towards one corner, they should be in the middle of the wall, otherwise you could be getting a skewed version of the sound when producing and/or mixing.
In terms of parallel walls, you’re basically meant to place your panels in opposite placements, and offset panels so that they’re not exactly the same on either side. Sound absorption should be staggered to avoid frequencies being overly amplified.
You should also get isolation stands to put your speakers on. The ones that are kind of the standard are called IsoAcoustics, though they’re not that cheap. Don’t place speakers right on your desk, do what you can to place some kind of rubbery material between them, to absorb the vibrations. I didn’t have IsoAcoustics at first – just a wood stand and that was good enough at the time. No matter what, you should have stands, and they should be placed so that they form a triangle between the speakers and your ears, at ear-level height.
RAC: Any last advice or affordable tips to resolve some of those acoustic issues?
Solomon: If you can’t make or buy panels, a mic isolation shield that goes around the mic is probably the easiest way to prevent reflections when recording. If you can’t build a whole sound booth, you could get a shield and throw up blankets/mattresses or things you already have lying around the house. Those elements will help keep sound from bouncing all over the place.
You’re not going to have a perfectly treated space right away, so do what you can. Small initial efforts will make a big difference – especially if you have limited time and budget!
To submit questions to industry professionals on subjects you want to learn more about, please email: blog@recordingarts.com. We’ll do our best to incorporate helpful answers in future interviews and articles. You can also find us on Instagram @recordingarts.
Written by Maryse Bernard
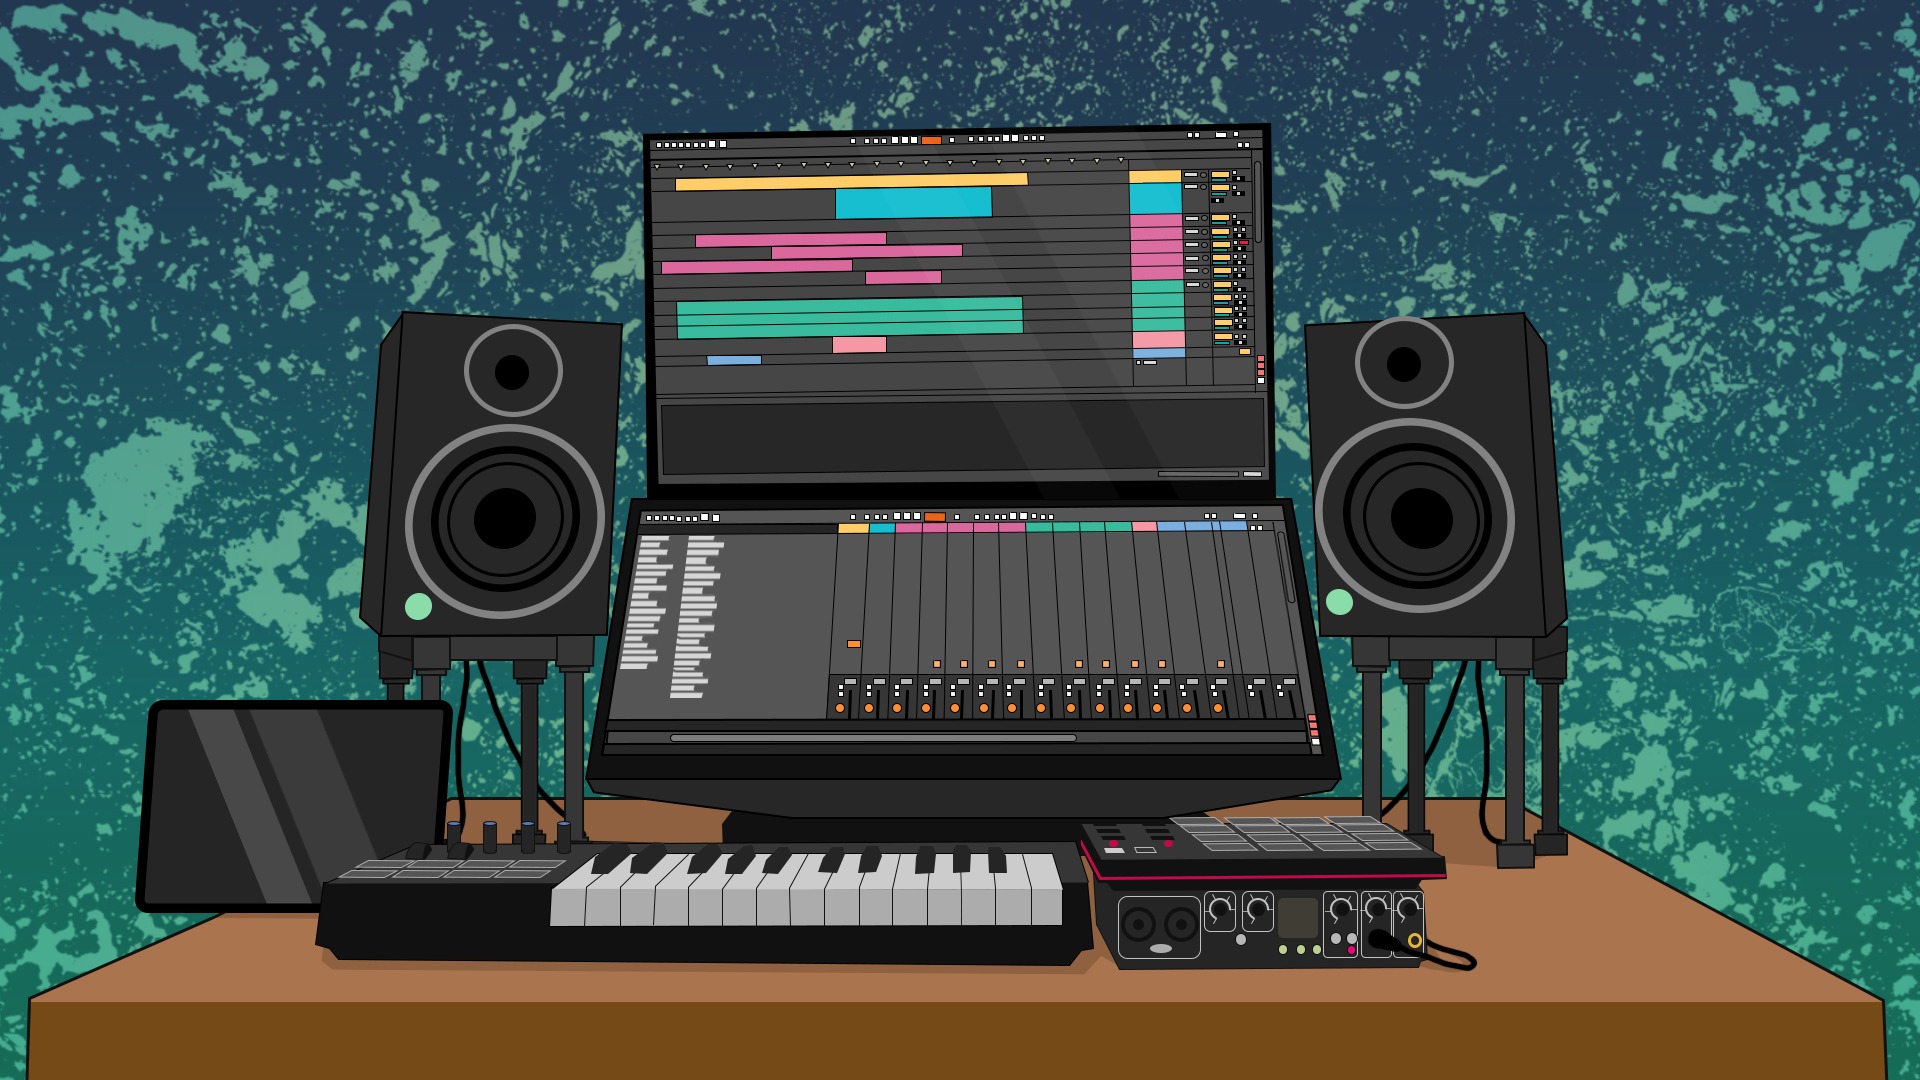
Illustration by Yihong Guo