Sound design is the process of creating a new sound, or morphing a sound into something else altogether. You can use samplers, synthesizers, instruments, or any other sound-making or sound altering device. The beauty of having such an open canvas and so many different tools at your fingertips is that you can experiment and be as creative and unique as you can imagine. Here’s a step-by-step example of a bass sound and loop we created from some vocal samples recorded with only a cell phone. The purpose of this demo is not to show how to achieve a particular sound, but rather to show one of many different creative approaches you can take when designing sound.
This example uses Ableton, but you can apply the same sort of creative decision making in any DAW.
First, the final product:
And the original samples that we used:
After getting our vocal recordings, we loaded each sample into Ableton and then consolidated them into a single WAV file.
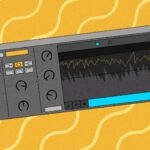
Next, we inserted the consolidated vocal chops into a granulator. We used the Granulator II, a free Max for Live plugin.

There are many different parameters in the Granulator you can adjust to achieve many different results. In this case, we assigned macros to ‘Speech Speed,’ ‘Grain Select,’ ‘Spray,’ and ‘Volume.’ Here is the result:
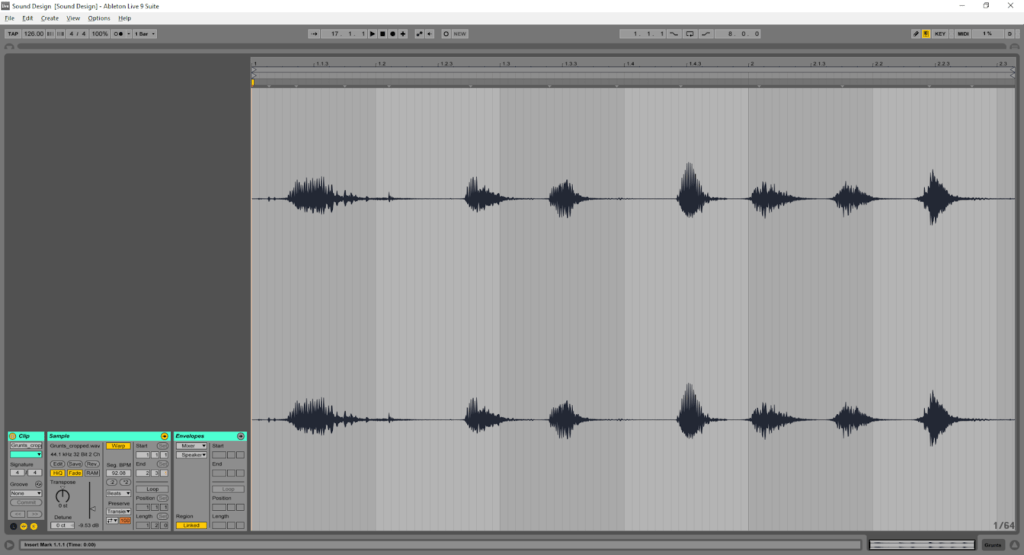
We’re still far from a bass sound, but as you can hear, you can already create some really interesting effects for use in other projects, such as film and other visual media. With a MIDI keyboard, you can play in different notes and octaves to get even more diverse results. We wanted to achieve that bass sound, so we resampled a few seconds of our output and dragged the audio file into a Sampler.
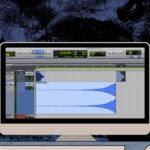
(Zoomed Out: the entire sample)
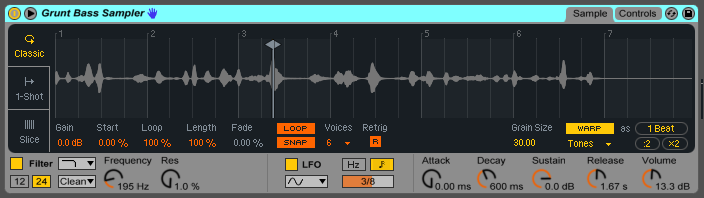
We then zoomed into our sample until we could clearly see the wave cycles. We enabled the ‘LOOP,’ ‘SNAP’ and ‘Retrig’ ( R ) and dragged the loop handles until we found a wave cycle that would work for our bass sound.
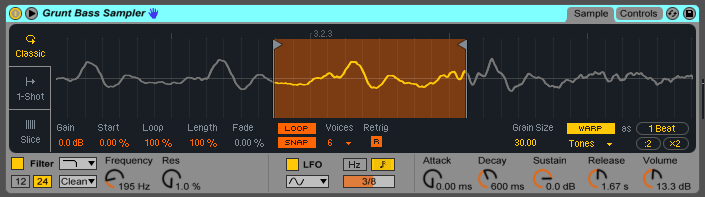
To further sculpt the sound, you can enable the Filter and modulate it with an LFO, such as we did in the screenshot above.
Now that we had the backbone of our bass sound, we created a short loop with a basic rhythm.

By applying some layering, parallel processing, blending, EQing, and – since this was a very electronic-inspired bass sound – some hard sidechain compression to achieve some pumping, we pushed the sound even further.
In the example below, we have five versions of the same sound in parallel, each with different processing (OG, OTT, Phaser, Redux, and VERB). You can (and probably should) EQ them individually so they each have their own space in the spectrum, and use some compression to glue them all together.

So we went from some pretty bland, poorly recorded vocal shots to a very cool ape-sounding synthesizer, EDM bass, and a basic dance loop in very little time. Try this same process with any sample and see what kind of results you can get!
To learn more about the sound design techniques and tools we use RAC, you can join us at one of our free sound design workshops. Sign up for our newsletter or visit our Facebook and Instagram pages to get updates and details on upcoming events!
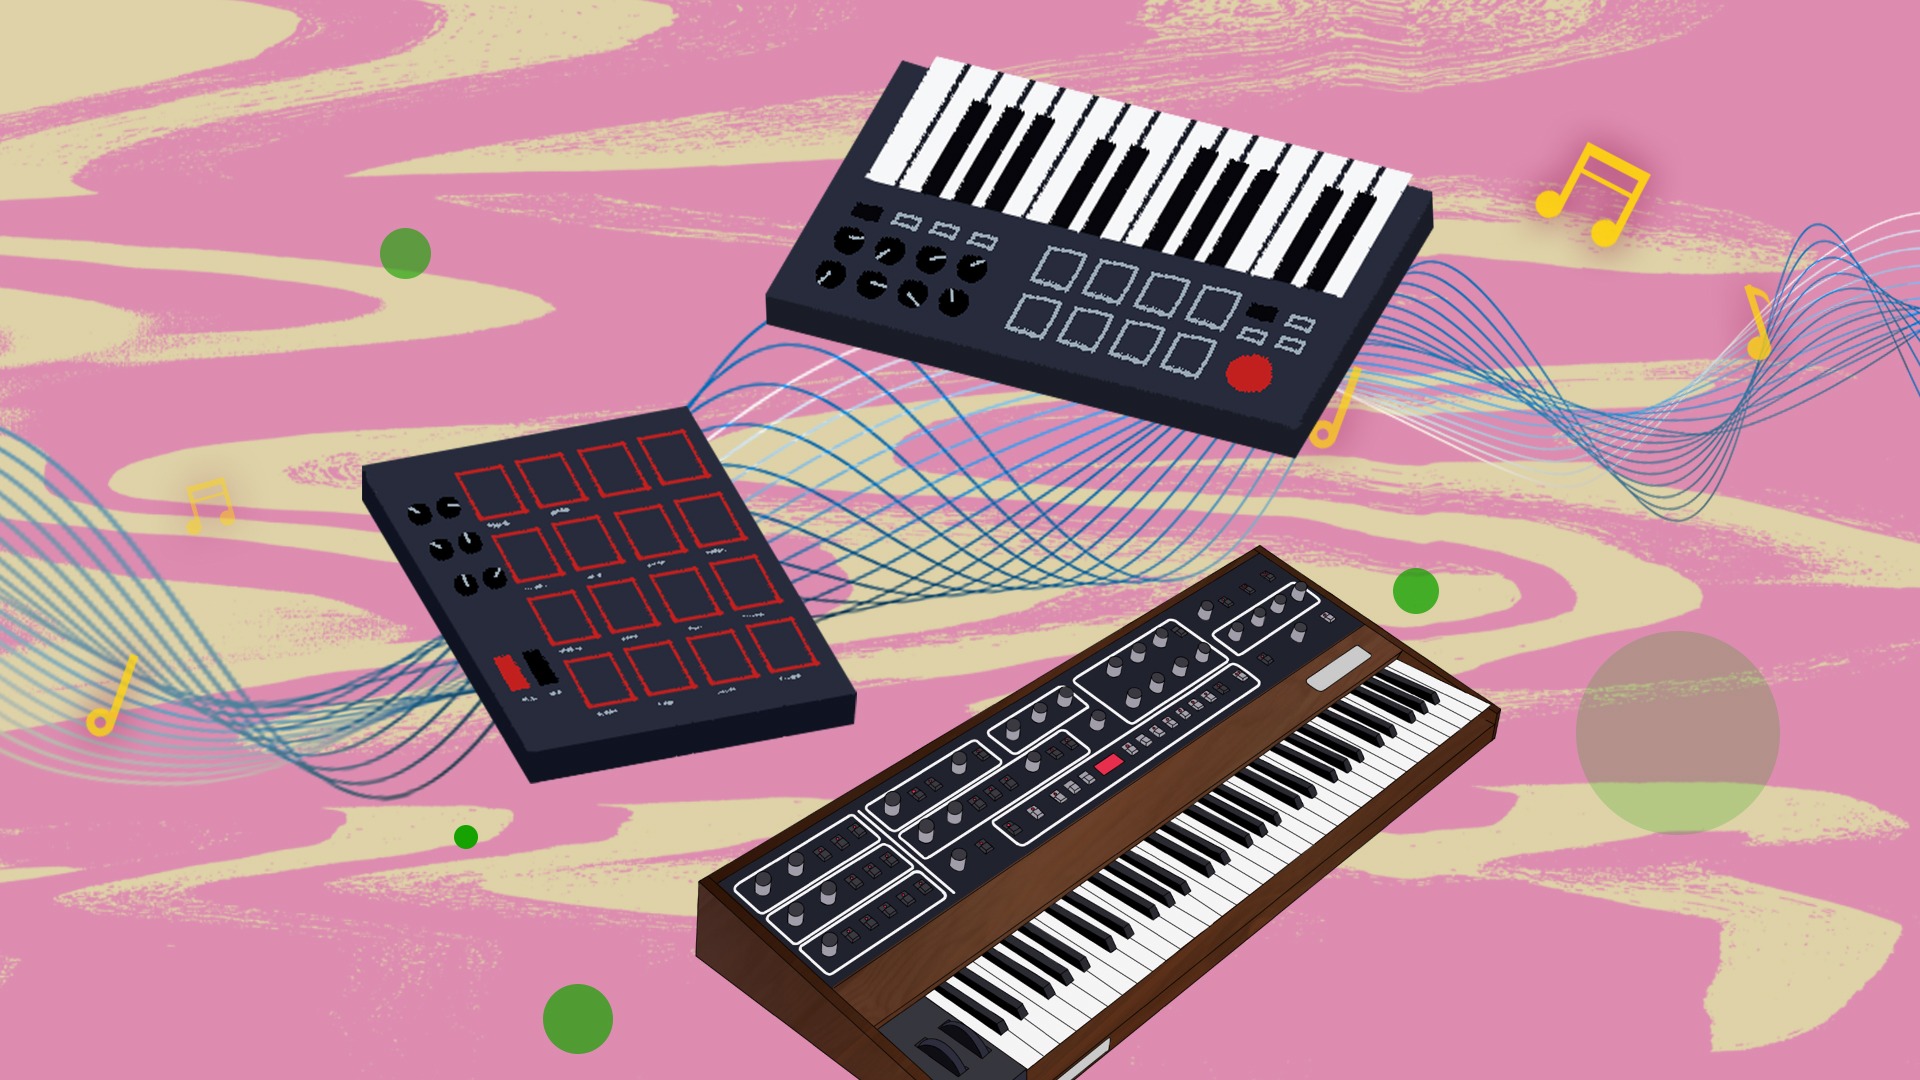
Illustration by Yihong Guo