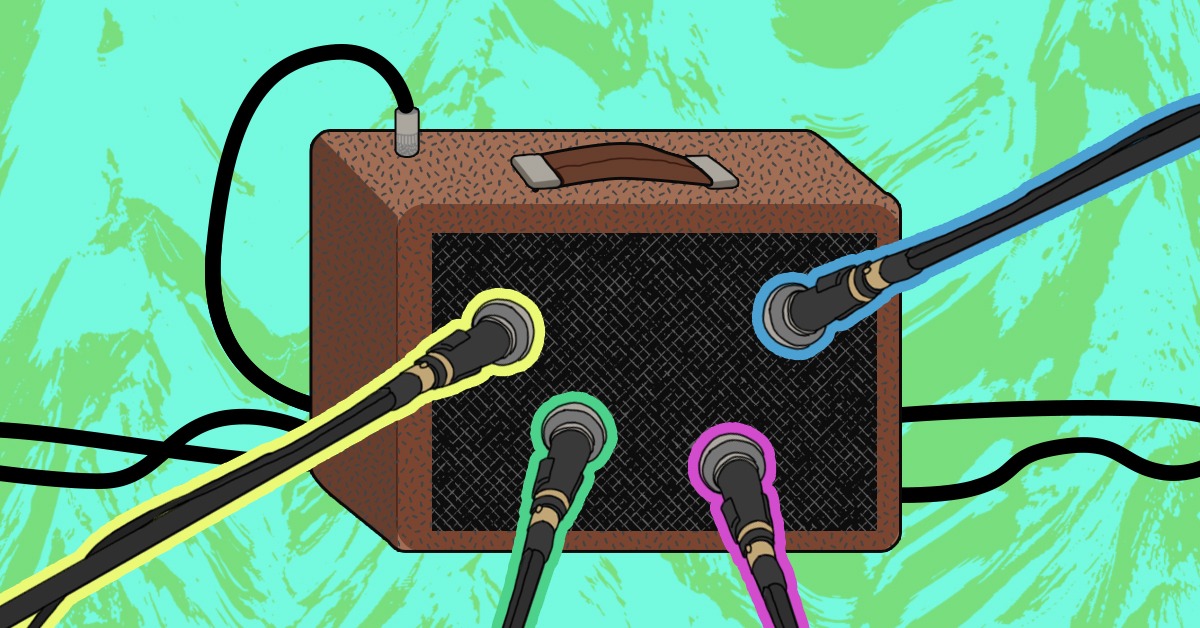
One of the most important skills to learn as a tracking engineer is the fine art of microphone placement. Getting a great sound takes a lot more work than just dropping a mic in a room and pointing it at what you want to record; it’s a skill you want to develop by using your ears more than anything else.
One of the more “hidden” aspects to this craft is what happens when you place your microphone very close to your sound source. Your microphone may begin demonstrating the symptoms of what is called the proximity effect.
Let’s begin by discussing how the polarity pattern and microphone design will determine how susceptible it is to this phenomenon. We’ll then move on to explaining exactly why this effect causes a perceived increase in the low-end frequencies of your recording.
Understanding how and why these symptoms occur will arm you with the skills you need to harness it’s side effects to your advantage.
Directional vs. Omni Patterns
With directional microphones, a signal is created by measuring the difference in pressure between the front and the back of the diaphragm. If it’s equal on both sides, it won’t move (in the case of a signal coming in completely off-axis). When the pressure on each side is very different, the diaphragm reacts and moves as a signal enters either the front or back of the capsule. True omnidirectional microphones do not rely on this pressure system to reject side signals.
However, total pressure on the diaphragm does not stay the same across the frequency spectrum. There is a bit of distance between the front and the back of the diaphragm. This distance is minor, but when it comes to fast-moving sound waves, this short distance still affects the signal that is replicated. Lower frequencies move through the capsule at a slower rate than higher frequencies, and thus cause less change in the overall pressure versus distance. To compensate for this, directional mics are built with circuits that roll off the top end.
This top-end roll-off is one of the contributing factors to proximity effect, creating an impression that is more low-end than your sound source is really producing when the mic is placed very close to it.
Getting Up-Close & Personal
The fact that directional microphones handle pressure differently depending on frequency content can cause unexpected results when placing them very close to a sound source where sound pressure level (SPL) comes into play. When placed at a longer distance (of about a foot or more away), almost all of the pressure on the diaphragm comes from the pressure system inside the capsule as expected. In contrast, when the microphone moves in closer than this range, the SPL from the source causes more pressure than the internal system, regardless of frequency content.
Once that SPL takes effect, the circuit that rolls off the high frequency actually gives the impression of more bass than the source is really producing. This is precisely why directional microphones suffer from proximity effect, while omnidirectional microphones do not.
Equalizing Without an Equalizer
You can use the proximity effect phenomenon to your advantage if the source you are recording is relatively stable. By finding the right position within the proximity field, we can smooth out the undesirable top end. Couple this with finding an advantageous angle for the mic, and you will begin to realize just how much control you have over the texture and bandwidth of the recording – before it ever reaches a channel full of processors.
However, this can prove to be problematic in some situations. Some sources can come across as incredibly “boomy” when a directional microphone is placed close by. Acoustic guitars suffer from this problem near their sound hole.
A specific example comes to mind during the recording of acoustic overdubs for a band called The Flu. The goal was to create a close and “in your face” sound for an acoustic rhythm guitar track, buttThe proximity effect was making things incredibly boomy at this position, even when the angle of the microphone was twisted to point towards the fretboard instead of the body of the instrument. The desired effect was achieved once a switch to an omnidirectional pattern to fight against the SPL projecting out of the soundhole was made. Nudging the mic a few inches into the sweet spot after these changes brought the vision to life.
Let’s take a look at an example:
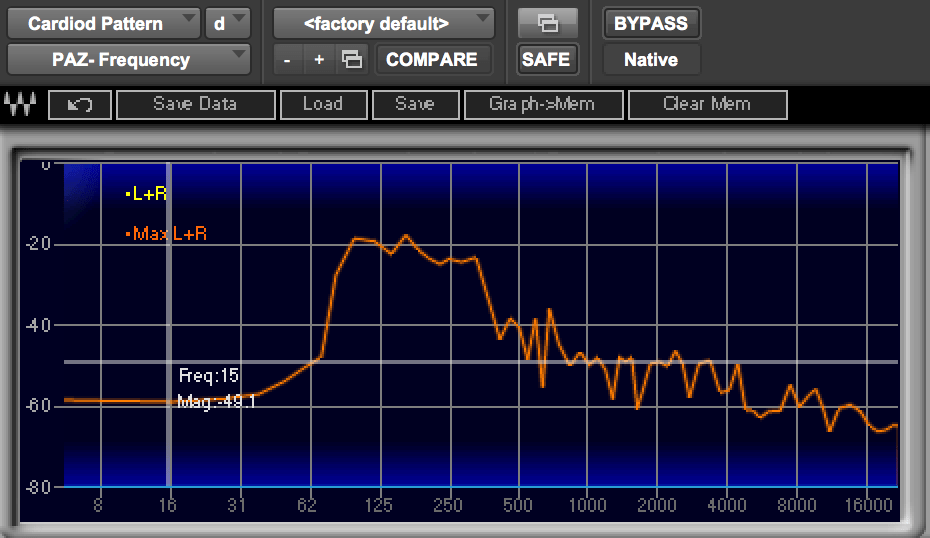
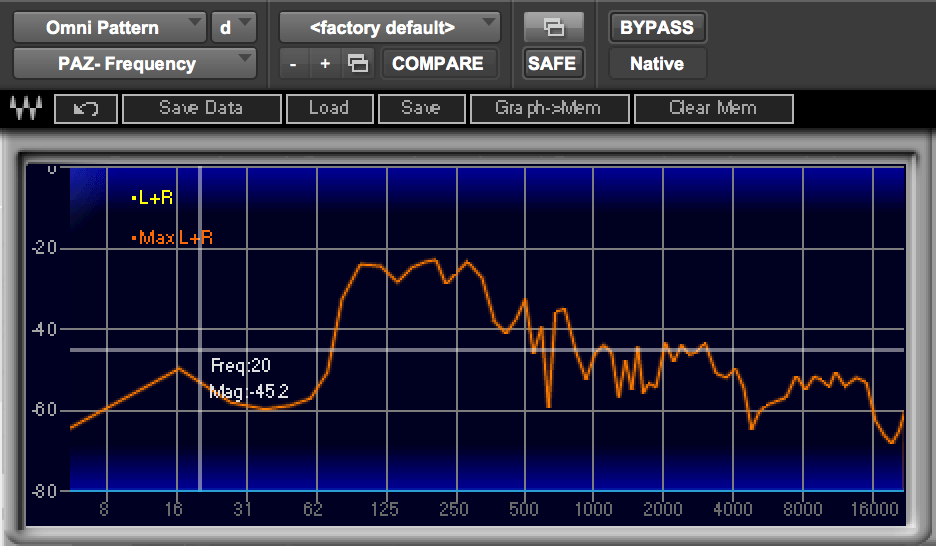
Neumann TLM 127 microphone was used in both Cardioid and Omni polar pattern at 6” away from the 12th fret, slightly aiming towards the sound hole.
You can notice while using the Cardioid polar pattern, there’s more of a low frequency build up at around 80Hz to 400Hz.
Cardioid Polar Pattern :
Omni Polar Pattern:
Moving sound sources can also cause problems when it comes to proximity. When singers constantly move closer and further away from a directional mic, they are effectively changing the frequency response of your recording chain with each motion due to the proximity effect.
Each Microphone Responds Differently
Microphones will all handle proximity in a slightly different way. You will notice the biggest emphasis of this change while moving from pattern to pattern. As a general rule, the more directional a mic, the more intense the effect will be. Ribbon microphones tend to darken signals the most when placed within the proximity field. Even bi-directional condensers can be quite strong as well.
You will still notice differences in response even when using a group of microphones that all share the same polar pattern. The shape of the casing, the material used to create the diaphragm, and the way the capsule is mounted can all play a part in just how a microphone will respond under these conditions. You have to learn what microphone angles/distances get the results you’re looking for with each individual microphone due to these inconsistencies.
—Final notes—
It is the job engineers’ job to become intimately acquainted with how each of the mics designs work in all situations. You will find your job becomes much easier when you strive to get a great sound off the floor while tracking, rather than following up with a lot of processing after the fact. Wearing headphones to hear changes in quality while moving the mic around in real time and understanding how proximity effect comes into play will get you on track to becoming an expert at microphone placement with time.
lllustration by Yihong Guo